Point-in-time Recovery for MySQL
info
This feature is only available in the Pro Plan and Enterprise Plan.
Point-in-time Recovery (for MySQL), also known as PITR, enables you to recover your database to any point in the history with valid logical backups and archived binlog files. PITR is a complicated task involving a series of operations and a deep understanding of the database, often requiring an experienced DBA. And it is always performed under dramatic pressure because you always wish to recover the database to a previous healthy state when disaster happens, such as accidentally dropped tables or columns, new release corrupted data, etc.
Bytebase provides an all-in-one solution to ease the PITR process with a few clicks and a straightforward UI to present the essential progress information.
Backup
It’s recommended to follow the doc for backup to set up automatic backups. Bytebase will check that an instance meets all the prerequisites and automatically archives binlog files.
Note that you can only restore to the point of time after a valid backup.
Restore in place
Follow this section if you want to perform an in-place database restore to a point in time. After the restoration, the database will be at the state of the specified point in time.
The in-place restoration process involves the following steps.
Step 1 - Click the Restore to point in time button on the database page

Step 2 - Choose a target time to restore
PITR restores the database to the state right before the target time. For example, if you give the restore time 10:00:00, Bytebase would recover the database to the state just after 9:59:59 passed but before 10:00:00.
Note that the time is at the local timezone of your browser.

Once you click the Confirm button, a new PITR issue will be created.
Step 3 - Approve the Restore task
The PITR issue consists of two tasks. The first task is to perform a recovery to the point in time you chose in the last step in a temporary database. It does not affect your current database.
Click the Approve button to approve the first Restore task.

And it should succeed like this.

Step 4 - Approve the Swap task
The second task is called Swap. It will swap the restored temporary database with your current database. After the Swap task, your current database will be at the state of the point in time you chose to restore, and the original database will be renamed by appending a timestamp (the issue created time) and an _old suffix. You could check the old database and use the data or just delete it to save storage space.
info
Note that you should stop ongoing queries on the current database before approving the Swap task.
Click the Approve button to approve the second Swap task.
It should succeed like this.

Now you have successfully performed a Point-in-time Recovery to your database!
Restore to a new database
Follow this section if you want to create a new database at a specific point in time of an existing database. This is very useful when you want to get a snapshot of a database in the past.
The restoration process involves the following steps.
Step 1 - Click the Restore to point in time button on the database page
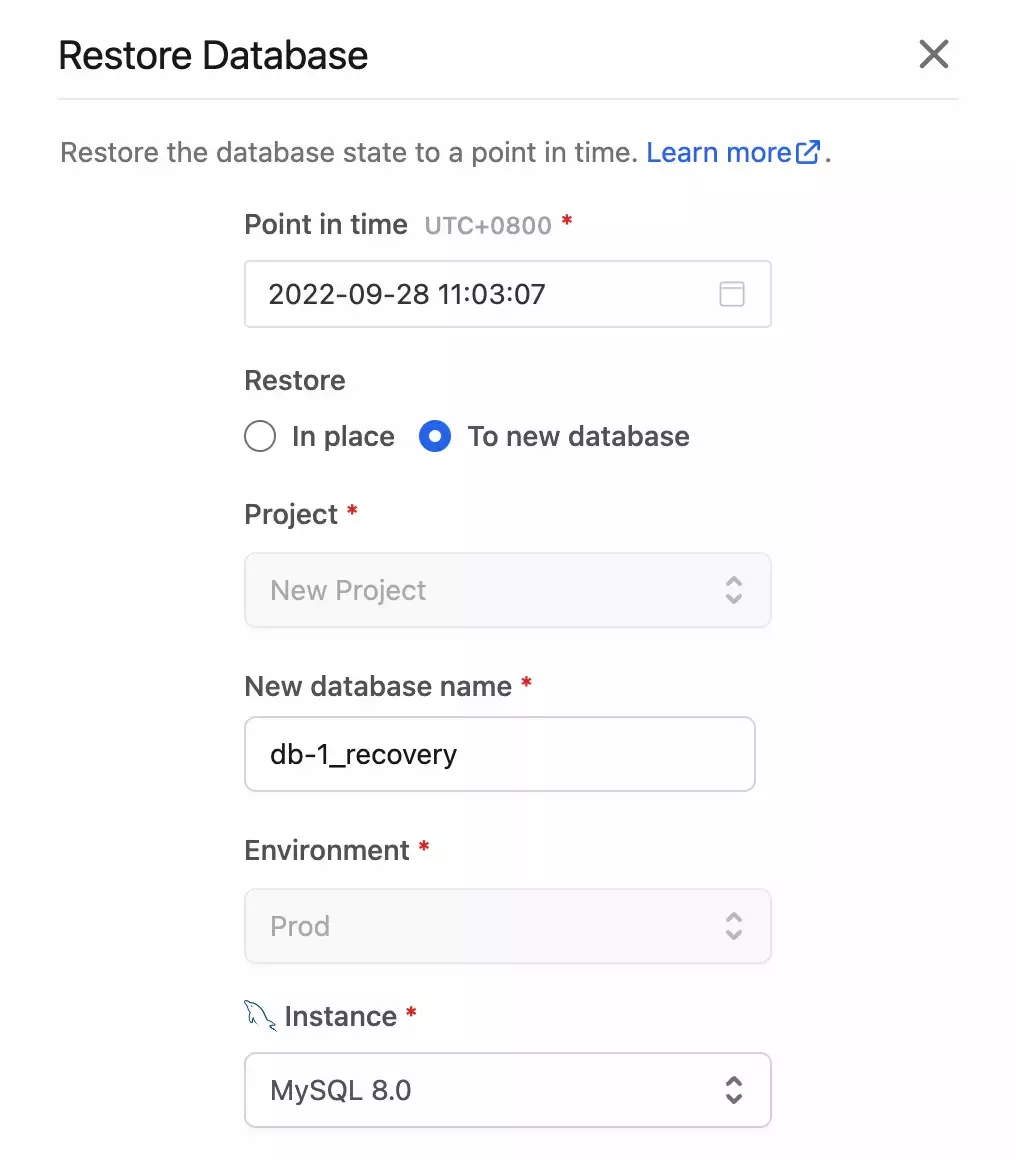
Step 2 - Chose "To new database"
Choose the target time to restore. Note that the time is at the local timezone of your browser.
Choose the instance of the new database, and fill in the name of the new database.
Click the "Confirm" button to create the PITR issue.
Step 3 - Approve the Create database task
The first task is to create a new database using the information you just provided.

Step 4 - Approve the Restore to new database task

Click the Approve button to approve the second task.
It should succeed like this.

Now you have successfully performed a Point-in-time Recovery to a new database!
